


General


Renew Car Insurance
9000+ Cashless Garages
96% Claims Settled (FY 23-24)

How to Adjust Car Headlights and What Tools are Required?
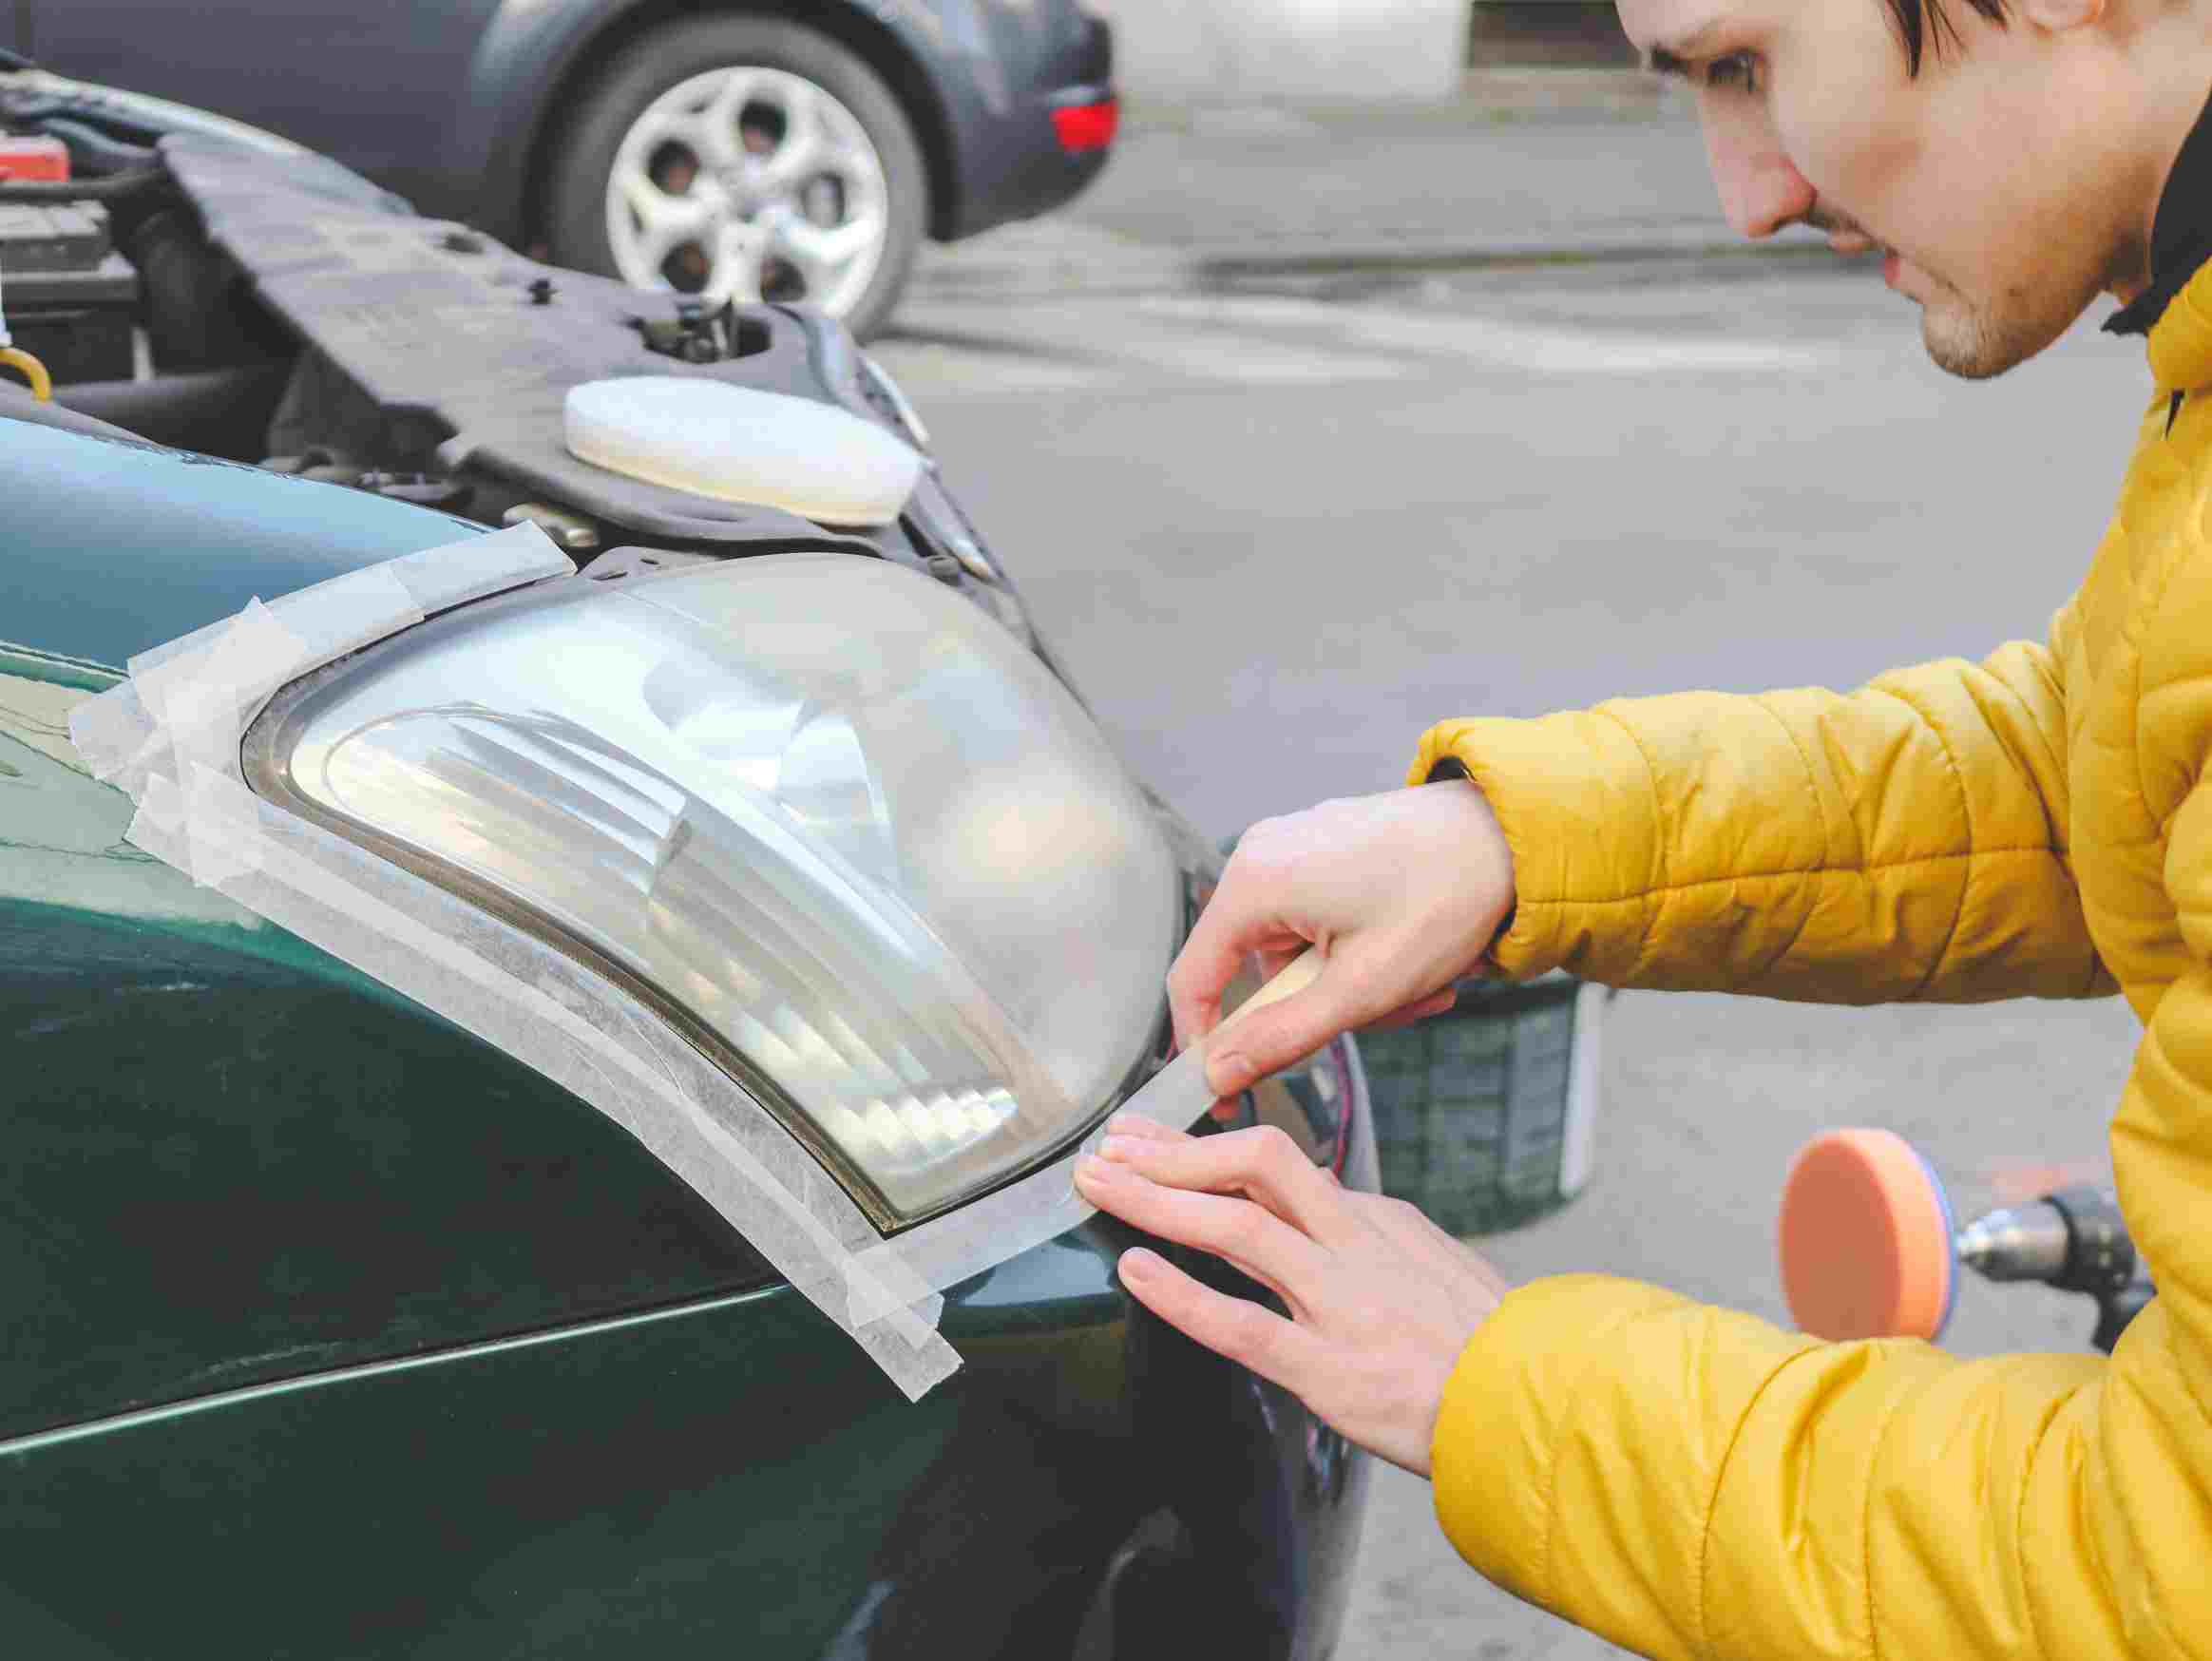
A car’s headlights are essential for maximum visibility and a safe driving experience. If you cannot see what’s in front of you despite the headlights, you might need to re-align them. Such an issue should be dealt with as an emergency, as it can risk your life and that of others.
Wondering whether you need to visit a garage to fix your car’s headlight alignment?
Keep scrolling to learn how to adjust car headlights, the tools required, why they tend to get misaligned, and more.

Table of Contents
What is Car Headlight Alignment and Why Does it Matter?
Headlight alignment refers to the correct placement of the headlights in your vehicle, which helps you gain visibility on the road. The correct angle and degree of tilt make the light shine only on the path ahead and do not cause difficulty for other drivers.
Here are a few reasons why you must align the headlights on your vehicle accurately:
Increased Vision
Driving demands the complete concentration of the driver. A fully functioning headlight ensures that the road in front is lit up to the maximum extent to avoid accidents. Headlights that point too high or too low can cause you to miss objects blocking your path. Driving at night can be especially challenging if you have misaligned headlights.
Safety of Others
Inaccurately placed headlights can unnecessarily shine light into the eyes of other drivers on the road, causing them to skew off the road or even collide with others. This happens when your headlights are tilted upward, causing cars on the other side to be blinded by their light.
Proper Visibility of Roads
The correct alignment of headlights ensures that you have an optimal view of the road in front. It can illuminate the most foggy roads to help you navigate your vehicle without hassle. Stop signs, sudden turns, and other crucial signals are easily made visible by the accurate placement and power of the headlights.
What are the Signs Your Car Headlights Need Adjustment?
Here are a few indicators if your headlights require an adjustment:
Improper Illumination
Headlights that lack the conventional alignment often cannot properly illuminate the road in front. The light shining ahead may be too high or too low for the driver to see the streets ahead easily.
Flashing Lights of Other Vehicles
If you see other drivers flashing their lights at you each time you drive your vehicle, it may be because your headlights are creating visibility complications. Your headlight may be positioned too high, which can cause glares and obstructions for other cars on the road.
Confused Focus
Misaligned headlights may be the reason you lack focus and seem scattered while driving. One headlight pointing too high while the other points too low requires you to constantly re-direct your focus. This can make you miss any signs, obstacles, or dangers straight ahead. Ensuring both headlights are level will help you avoid a similar situation.
Missing Indicators
If your headlights are not working properly, you might miss more signs and signals than usual. A beam set to a lower intensity, an inaccurate angle of illumination, and loose headlights can cause you to miss important stop signs and other road indicators.
How Do Car Headlights Go Out of Alignment?
There are several reasons why your car headlight may be out of alignment. Here are a few reasons why:
- Head-on collisions
- Uneven roads
- Loose wires
- Replacement of headlights
- Overloaded vehicle
- Old light bulbs
- Damaged lenses
Tools and Materials Needed to Adjust Your Car Headlights
You will need some easily available tools to change the alignment of your car’s headlights. They are listed below:
- Screwdriver
- Measuring tape
- Owner’s manual
- Fabric or cardboard to block the light
- Masking tape
- Marker
- A flat surface as a reference point
- Carpenter's level
- 20 to 25 feet of space
How to Adjust Car Headlights?
Here is a step-by-step guide to help you adjust your car headlights:
Step 1: Unload Your Car
Ensure your car is not overloaded with luggage or cargo in the trunk. Removing any excess load keeps the car in the position it will be on the road while you drive it. Ideally, the car should be empty except for someone sitting in the driver’s seat.
Step 2: Position Your Vehicle
Park your car on a level surface facing a plain and even wall. A carpenter's level can ensure the wall’s evenness. After this, park your vehicle as close to the wall as possible. Doing this at night will yield the best results.
Step 3: Push Your Car Down
Pushing the car down on each of the four corners level the shocks and suspensions of the vehicle. This levels your car, helping you place the headlights in the best position possible.
Step 4: Mark the Wall
Switch on your car's headlights and place them on a low beam. Mark the brightest point of the light on the wall with a marker or masking tape. Create a + pattern and make sure the intersection is where the light is shining the brightest.
Step 5: Check the Markings
Check the + made on the wall using a carpenter’s level to see if it’s on the same horizontal plane. If it is uneven, use measuring tape to adjust the centre lines correctly. The centre lines of the + must not be higher than 1.1 metres or 3.5 feet from the ground where the vehicle is stationed.
Step 6: Reverse Your Car
Once you’ve made the markings and corrected it, reverse your car exactly 25 feet or 7.6 metres from its current position. This is the distance your headlights should ideally light up in front of you. Do not blindly guess the distance you’re reversing, and use measuring tape to mark the exact point at which you will be reversing your car.
Step 7: Match The Lights With The Markings On The Wall
Remember the two + markings made on the wall; these will determine the degree to which your headlights should be adjusted. The brightest point of the lights must be at the intersection of the + on the wall.
Only the part of the wall below the centre of the + should be illuminated. You need to lower the lights if the brightest part is above the marking. Meanwhile, if the brightest part is too low, you must raise the headlights. In case the brightest part of the light is skewed off-centre, you must adjust the lights horizontally.
Step 8: Open the Hood of Your Vehicle
Once you open the hood of your car, you shall be able to see the screws that control the alignment of the headlights. Use the owner’s manual to find the exact location of these screws as each model may have a different place where they are installed.
One screw will determine the horizontal angle, while the other is responsible for the vertical alignment. You can use a screwdriver to adjust the angle of the headlights manually.
Step 9: Cover One Headlight
Using a heavy fabric or cardboard, block the light from the other headlight while you work on one. This will ensure the correct alignment of the headlight you are currently working on.
Step 10: Level The Lights Vertically
Generally, lights are raised by turning the screw clockwise and lowered by turning it anti-clockwise. Experimentally turn the screws till you figure out how to adjust the angle of the headlights. Keep adjusting till the brightest part of the headlight shines at the centre of the + or just below the horizontal line of intersection.
Step 11: Level the Lights Horizontally
There must be another set of screws that control the horizontal adjustment of the bulb. Use it to manoeuvre the headlights so that the most intense part of the beam lies at the vertical juncture of the + on the wall.
Step 12: Step Out With Your Vehicle
Take your car out on a quiet road at night and test out the newly adjusted headlights. You should be able to see a significant distance in front of you, around 25 feet or the length of 3 to 4 cars.
Step 13: Make Any Adjustments Needed
Make any final adjustments needed for your headlights to be at the optimal position. Test the headlights at night to assess the extent of the change needed.
What are the Headlight Adjustment Techniques for Different Types of Vehicles?
While the process of adjusting headlights remains the same across a plethora of vehicles, you should refer to the owner’s manual to know about the location of the screws you need to adjust for the alignment. Generally, you can see the screws on the inside of the engine bay once you open the hood.
Some cars also have a flange off the rim of the light, which shows the screws outside the vehicle. Meanwhile, others may also have bolts for adjusting the angle of the bulbs in place of screws. On cars manufactured by Honda, there is a bubble level on each headlight casing, which helps to identify if the headlights are in the correct placement.
You will not need to remove the lights from the vehicle's body. However, you may need to remove a coolant tank or panel to get to the headlight. Keep the owner’s manual handy to know how to proceed with the fix.
Common Mistakes to Avoid When Adjusting Your Car Headlights
Here is a list of common mistakes people often make while adjusting car headlights by themselves:
Checking Both Headlights at the Same Time
There may be inconsistencies in adjusting the angle of the beam if both headlights are switched on simultaneously. You might be confused about the luminosity and direction of light if you don’t cover one headlight while working on the other.
Uneven Headlights
While adjusting the headlights, ensure both bulbs are aligned correctly. Each should be appropriately arranged to give the path in front an even luminosity.
Pointing a Flashlight
Pointing a flashlight toward the beam or wall may puzzle your mind as it would interfere with the light shining from the headlights. You must avoid using a flashlight while marking the + on the wall.
Incorrect Aim
Each headlight should be correctly placed so that the most intense part of the beam shines below the horizontal line of the +. Any other placement would hamper your visibility on the road.
Parking on an Uneven Surface
Make sure your car is parked on an even and flat surface. Positioning your vehicle on a bumpy or uneven area will result in inaccurate measurements, eventually leading to an unbalanced headlight.
Reversing More Than Recommended
You should follow the advised distance to which your car should be reversed to adjust the headlights. If you go too far or don’t reverse enough, the beam of the headlights may not accurately show the degree of misalignment.
Estimating Evenness
Avoid estimating whether the + on the wall is level or straight lines drawn. Even the slightest tilt or inaccuracy will affect your vision on roads.
Not Checking the Suspension and Pressure
You must check the tyre pressure and allow the suspension to settle to accurately estimate the car's normal state. If the tyres are flat, the car's height will lower, leading to an incorrect alignment of the headlights.
Overfilling the Vehicle
Avoid working on the car if it is at full capacity or full of cargo and luggage. A vehicle at the maximum weight is not something you drive every day. Try replicating the car to a state that you travel with daily.
Dirty Headlights
Wipe down the headlights from outside and within to get the maximum illumination from the beams. This helps calculate the needed adjustment more accurately.
How Often Should You Adjust Your Car Headlights?
Read below to learn about instances when you should adjust the headlights of your car:
After a Major Collision
A major rear or head-on collision can loosen and disbalance your car's headlights.
After a Routine Service
Servicings or repairs can also alter the angle of the headlights.
Every 19,000 km You Travel
It is recommended to check your car's alignment for every 19,000 km you travel.
Lack of Visibility on Roads
If you find it difficult to observe the path ahead or see other drivers flashing their lights at you, your headlights might be pointing too low or too high.
How to Test Your Headlights After Adjustment?
After adjustment, you can test your headlights by taking your vehicle out at night, preferably on an empty road. Travelling a long stretch of land without any people or obstacles on the road can help you accurately get an idea of the angle of illumination of your headlights.
Inaccurate headlight angles are a hazard for you and other drivers on the road. Adjusting the headlight beams can help you achieve maximum visibility without interfering with the vision of cars opposite you.
As soon as you realise that your headlights may not be facing correctly, you should urgently check the alignment using the process mentioned above and fix it as soon as possible.