What are Motorcycle Chains: Types, Cleaning, Checking and Adjusting

Motorcycle chains, often overlooked but integral to a bike's performance, form the mechanical backbone of every ride. These interlinked metal components serve as the conduit between the engine's power and the turning force at the rear wheel. Understanding the types of motorcycle chains and their maintenance is essential for every rider.
What are Motorcycle Chains?
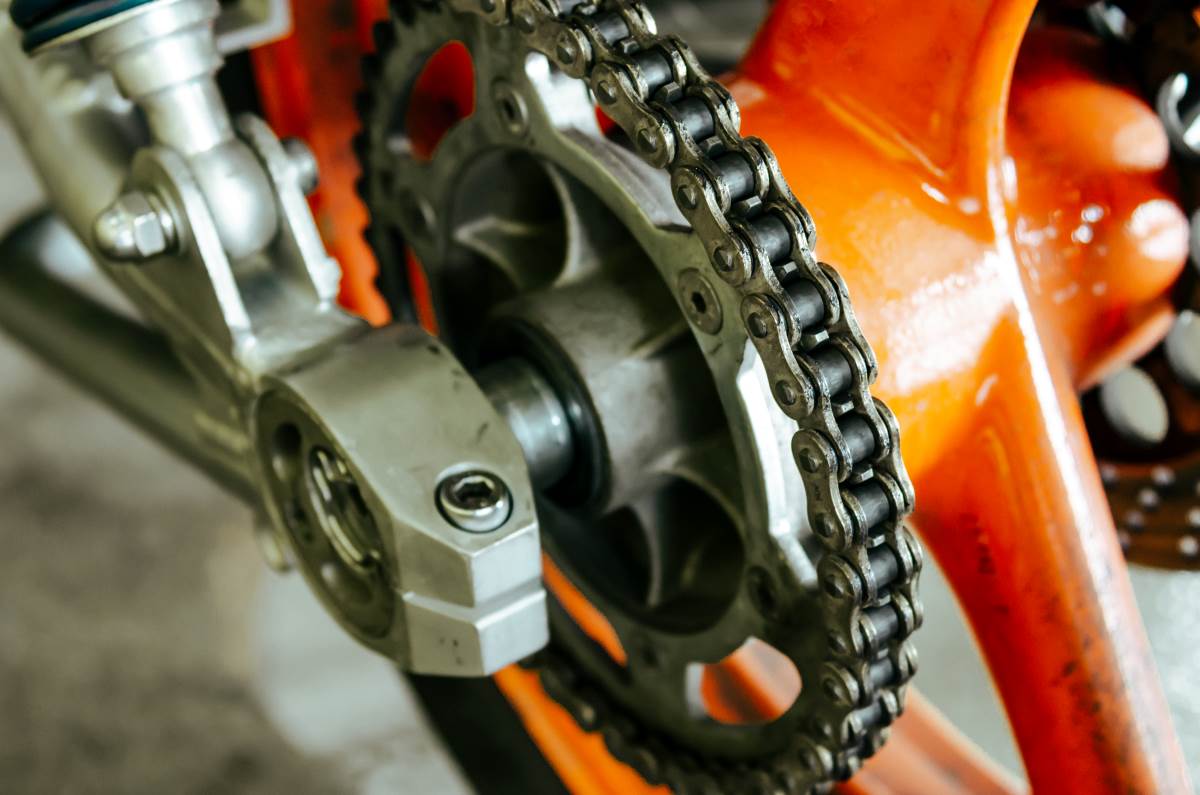
Motorcycle chains are fundamental components that transfer power from the engine to the rear wheel, facilitating the bike’s movement. Essentially, they are a series of interlinked metal components that form a loop.
The purpose of a chain in a motorcycle is to provide a mechanical connection between the engine and the rear wheel, enabling the bike to move forward.
What are the Types of Motorcycle Chains?
For any rider, it is important to know these 3 types of motorcycle chains as it helps to take proper care and maintain the shelf life of the motorcycle:
- Unsealed Chains: Unsealed chains, often known as standard roller chains, consist of a series of metal links that form a plain bearing. While they are cost-effective, they require more frequent maintenance due to their susceptibility to dirt and debris.
- X-Ring Chains: X Ring chains feature sealing technology with X-shaped seals. This design provides better protection against contaminants, resulting in improved durability and reduced maintenance requirements compared to unsealed chains.
- O-Ring Chains: O Ring chains utilise round seals to protect the internal components from external elements. These seals help in reducing friction and retaining lubrication, resulting in increased longevity and reduced wear and tear.
What is the Process for Cleaning and Lubricating Motorcycle Chains?

Cleaning and lubricating chains reduce friction and prevent the wear of the motorcycle, their steps include:
- Step 1: Chain Cleaner Tool: Fill the tool with a bike degreaser and wrap it around the chain. Backpedal with your hand to let the brushes do the cleaning, collecting degreaser.
- Step 2: Without Special Tool: Use a toothbrush or nail brush. Apply degreaser and backpedal, ensuring both the top and bottom sections below the drivetrain are covered.
- Step 3: Suds and Rinse: To remove the extra degreaser, wash your motorcycle chain with soapy water and then rinse it.
- Step 4: Choosing the Right Lube: Use wet lube for wet and muddy riding conditions. You can use dry lube for dry riding conditions.
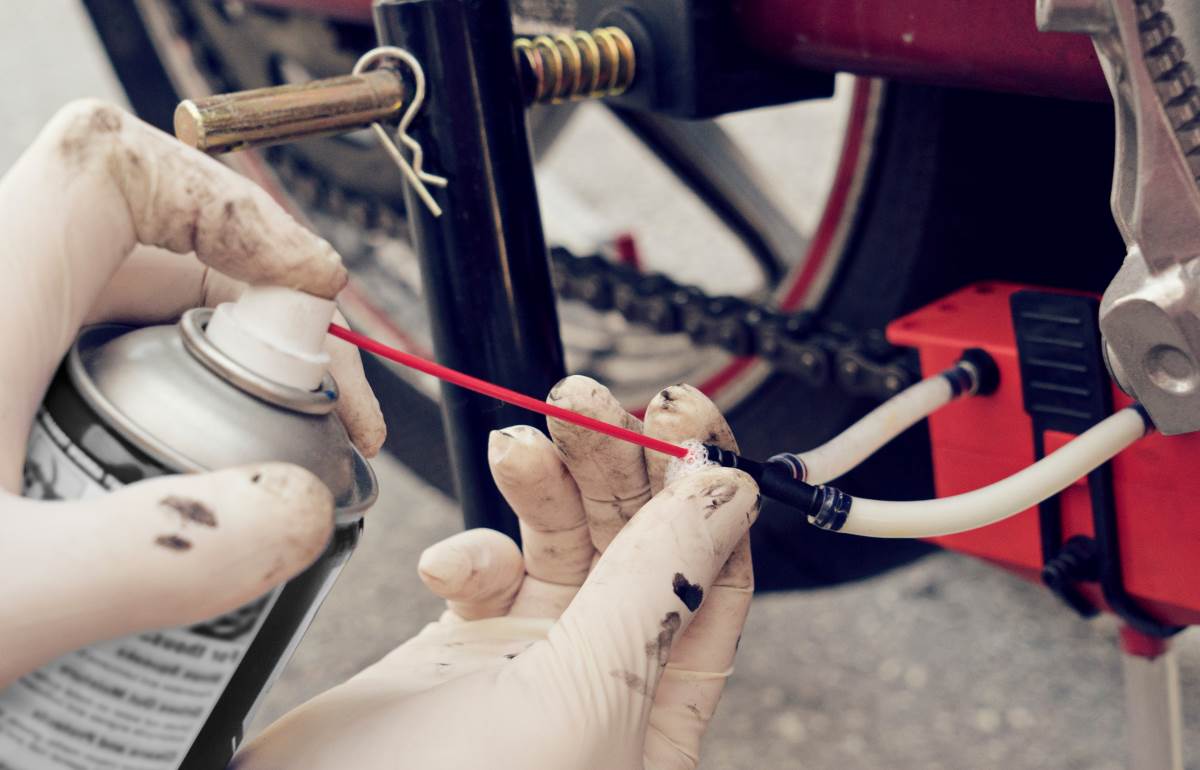
- Step 5: Applying the Lube: Place a small drop of lube on top of each roller in your chain. Direct the lube into the rollers to avoid getting it on the outside of the chain.
- Step 6: Final Step: Wipe off any excess lube. Your motorcycle chain is now ready for a smooth ride.
How to Check and Adjust Motorcycle Chain?
Regular checks and adjustments are vital to ensure optimal performance and safety, the steps to check and adjust the chains are:
Steps for Checking Motorcycle Chain
The motorcycle chain should be checked every 400 to 500 miles or more often for dirt bikes.
- Step 1: Bike Positioning: Put the bike on its side stand and ensure the transmission is in neutral.
- Step 2: Check Chain Slack: Push up the bottom run of the chain between the sprockets. Measure the amount of slack and Compare the measurement to the manual specifications.
- Step 3: Check Chain Wear: Move the bike to check different sections of the chain. Mark the tightest spot. Check the entire length of the chain for wear.
- Step 4: Comprehensive Inspection: Examine the entire chain for damaged rollers, loose links, and missing O-rings. Swap out the chain with a new one as needed.
- Step 5: Addressing Issues: Clean and free any links that are rusted or kinked.Highlight problematic areas with a marker. After riding, re-measure slack in the highlighted area.
- Step 6: Chain Replacement: If the chain remains tight or kinked, opt for a new one.A worn chain can harm sprockets and bearings. Replacing the chain is a safer choice.
- Step 7: Sprocket and Chain Set: Avoid fitting a new chain on old sprockets. Always change both the chain and sprockets to maintain optimal performance and prevent damage.
Process for Adjusting Motorcycle Chains
The steps to adjust the motorcycle chain as per the condition are as follows:
- Step 1: Positioning: Move the motorcycle to ensure that the chain's tightest point is at the centre of its bottom run. Place the motorcycle on its side stand.
- Step 2: Loosening the Rear Axle Nut: Use the appropriate tool to slacken the rear axle nut, allowing for easier adjustment of the chain tension.
- Step 3: Adjust Chain Tension: Turn the adjuster bolt until the specified amount of free play, as mentioned in the manual of the motorcycle, is achieved at the centre of the chain's bottom run.
- Step 4: Tightening the Axle Nut: Once the desired chain tension is reached, tighten the rear axle nut according to the torque setting provided in the motorcycle's manual.
- Step 5: Rechecking Adjustment: After tightening the axle nut, recheck the chain tension. This additional step ensures the accuracy of the adjustment and contributes to the safety.
- Step 6: Testing Wheel Movement: Spin the wheel to ensure it moves freely without any resistance. Check for any unusual noises or tight spots in the chain.
Despite advancements in motorcycle technology, chains remain a popular choice due to their simplicity, efficiency, and cost-effectiveness. Understanding the types of motorcycle chains and following proper maintenance procedures ensures a longer lifespan and reliable performance.


