Check Credit Score for FREE
Instant in 2 Mins. No Impact on Credit Score

How to Open & Login NPS Account Online in 2025?

The National Pension System or NPS is a government-sponsored scheme launched in 2004. It allows the residents of India to contribute to their pension account regularly, wherein the entire amount withdrawn from it remains tax-free. Additionally, the whole corpus of an individual escapes tax on maturity.
As a result, the NPS allows you to support your lifestyle after retirement. It is, therefore, critical that you are familiar with the NPS registration and login processes. So, allow us to elaborate on these in this article.
How to Register for NPS?
You can complete your NPS registration by way of 2 ways – online or offline. Discussed below is the NPS registration procedure for both of these methods.
How to Register in NPS Online?
You can go ahead with the following steps to perform e-NPS registration
Step 1: Visit the official NPS NSDL portal and select “National Pension System”.

Step 2: Select an appropriate option from the following alternatives.

Account Type: Tier I only or Tier I and II.
Applicant Type: Corporate subscriber or individual subscriber
Register With: Permanent Account Number (PAN) or Aadhaar offline e-KYC.
Status of Applicant: Non-Resident of India (NRI), Citizen of India, or Overseas Citizen of India (OCI).
Note that when opting for an NPS online registration with Aadhaar, you have to submit the following details -
Last digit of your Aadhaar number
Registered mobile number
Aadhaar offline e-KYC XML file
Code for paperless offline e-KYC
Likewise, when you register with PAN, the following details are required -
PAN number
Your bank or POP
Step 3: Next, click on “Continue”. A page named “Subscriber Registration” will appear on your screen. Here, you must submit all the required details, which will then generate an “Acknowledgment Number”. The details include the following:
Personal details: such as your title, name, gender, date of birth, city and country of birth, marital status, contact information, etc.
Family details: like your maiden name, father’s title, father’s name, mother’s title, and mother’s name.
Identity details: including your PAN, passport number, Voter ID, CERSAI ID, and Retirement Advisory ID.
Proof of identity: includes documents that act as proof of your identity, such as your school leaving certificate, ration card, PAN card, matriculation certificate, etc.
How to Register in NPS Offline?
If you wish to take the offline route for NPS new registration, you must reach out to your Point of Presence – Service Providers (POP-SP). You can visit them and collect an NPS registration form, which is also available for download on the official website of NPS.
Here are the things to keep note of while filling out this form.
Fill the form with black ink and in block letters.
Make sure there is no error or overwriting.
Select the category of the NPS model for which you want to apply. For instance, government employees need to select (Central Government) or NPS (State Government). While corporate employees must choose NPS (Corporate), and all others who are not covered under private company employees need to choose the NPS (All citizens) model.
Fill in your personal details.
How to Fill an NPS Registration Form?
As this is a comprehensive form, you must bear a few points in mind while filing it out.
- Fill in all the mandatory fields under the “Personal Details” section to generate an acknowledgement number.
- A pop-up appears after you select the option “Generate Acknowledgement Number”. Here, click on the option “Proceed”.
- Then, you will receive an acknowledgement on the screen. Proceed by clicking on “OK”.
- Now, fill in all the mandatory fields under contact details, which requires your residential or non-residential address.
- Similarly, furnish all the necessary details in the section of “Bank and Other Details”.
- Provide details of your nominee in the “Nomination Details” tab. Here, you must mention the nominee’s name and their relationship with you.
- Thereafter, enter the name of the documents required for NPS registration. Note that all documents are in JPEG, JPG, or PDF format.
- Upload an image of your photo and signature in the “Photo & Signature Details” tab. Then, click on “Save” to proceed with payment.
- At this point, you must select a pension fund manager from a list of 8 companies, namely -
- Aditya Birla Sun Life
- Kotak
- Reliance Capital
- UTI Retirement Solutions
- SBI
- ICICI Prudential
- LIC
- HDFC
- Now, select your investment option from an Auto or Active choice. Premised upon your selection, the NPS will split your wealth between various asset classes.
- Auto choice: It splits the funds between asset classes based on your age and risk appetite.
- Active choice: It divides your funds into 4 NPS asset classes, namely corporate bonds, equity, alternative assets, and government bonds.
- Next up is the declaration of FATCA, which requires you to declare whether you are a US citizen. Additionally, you must provide your residential status and tax identification number, alongside a signature with name, date, and place.
- In the section of “Declaration by the subscriber”, declare that you understand this scheme and that all details provided by you are correct.
- The next section is “Declaration by Employer”, which only applies to government employees. It contains information about a subscriber’s date of joining, employee group, employee code, basic pay, pay scale, and date of retirement, among others.
Documents Required to Open an NPS Account
Given below is a list of documents required for NPS -
Proof of Identity (PoI)
Aadhaar Card
Passport
PAN Card
Voter ID Card
Driving License
Proof of Address (PoA)
Aadhaar Card
Passport
Utility Bill (electricity, water, gas, telephone)
Bank Statement
Rent Agreement
Proof of Date of Birth (DoB)
Birth Certificate
Passport
PAN Card
Aadhaar Card
Driving License
Permanent Retirement Account Number (PRAN) Application Form
This form is provided by the Point of Presence (PoP) or can be downloaded from the NPS website.
KYC (Know Your Customer) Documents
These include documents that verify your identity, address, and date of birth, such as an Aadhaar Card, PAN Card, and Passport.
NPS Mobile App
You can also download the NPS mobile app for Android and iOS, which allows you to manage and access your NPS account easily from anywhere. Here are the NPS-related services available on the app -
Submit your contribution online for Tier I & Tier II
Request/view transaction statement to your email ID
Change scheme preferences
Change address using Aadhaar
Aadhaar seeding
View your account details
View current holding
Change your password/ secret question
Generate your password using secret question/OTP
View the last 5 contributions
Initiate withdrawal from Tier II
Change your contact details (Tel./Mobile/email ID)
Get notifications related to NPS
Details Received After Registration for First-Time Login
After completing the registration process for your NPS account, you'll receive a welcome kit containing essential items. This includes your PRAN card, unique identification number, and a user manual for navigating the NPS portal. The kit also provides important information about your account's features and benefits, ensuring a smooth first-time login experience and enabling effective management of your retirement savings.
How to Login to an NPS Account?
First and foremost, you should know that you can easily log in to NPS with a PRAN number if you already have an NPS account. In fact, there are several ways by which you can log in to your e-NPS account.
Discussed below are each of these methods -
NSDL NPS Portal
Step 1: Visit the official website of NSDL NPS.
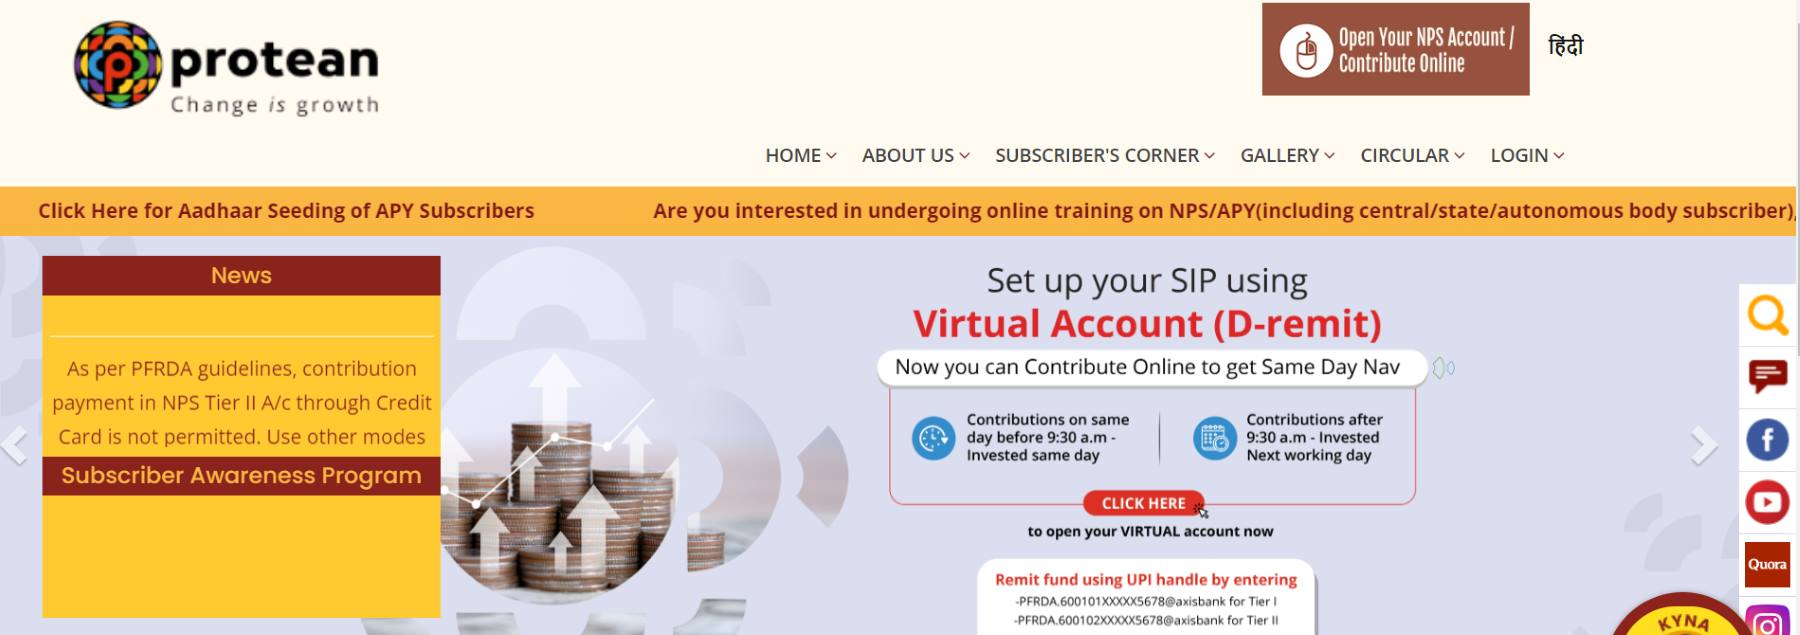
Step 2: Select the option “Open your NPS Account/Contribute Online”.
Step 3: Click on the option “Login with PRAN/IPIN”.
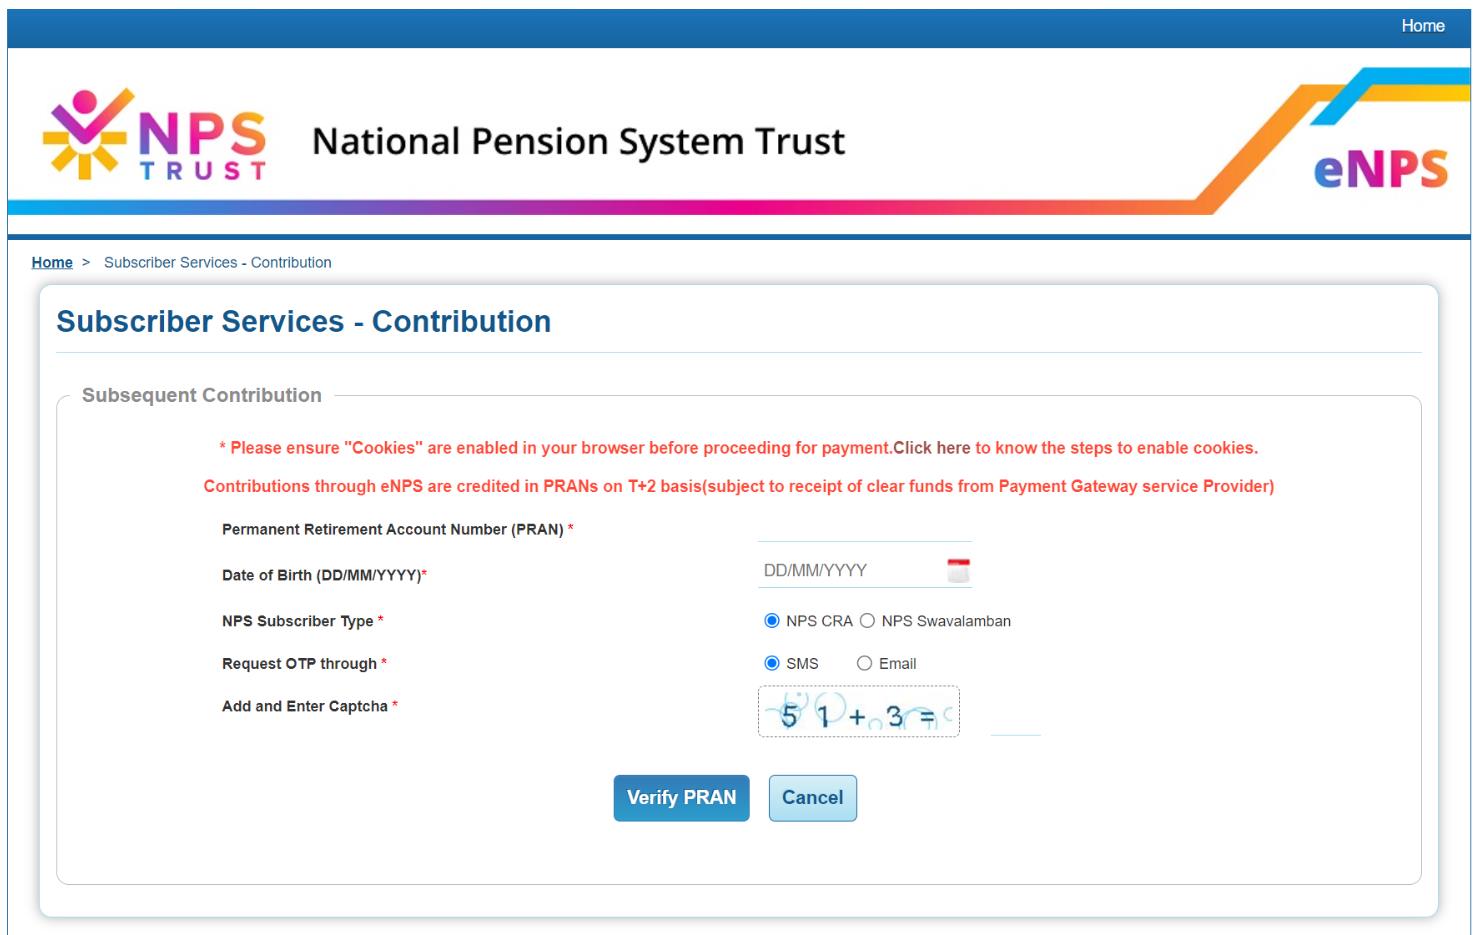
Step 4: At this point, the site takes you to a login screen.
Step 5: Enter your PRAN number and password in the applicable fields. Then, select “Submit” and access your NPS account.
Logging into your NPS Account for the First Time
In that case, you need to create a new password by following these simple steps -
Step 1: Visit the official website of NSDL NPS.
Step 2: Select the option “Open your NPS Account/Contribute Online”, then “Login with PRAN/IPIN”. After this, the site takes you to the login screen.
Step 3: Here, generate a new password by choosing the “Password for e-NPS” option. The website calls for you to submit your PRAN, date of birth, new password, and a captcha. After providing these details, click on “Submit”.
Step 4: As you select the “Submit” option, you will receive an OTP on the registered contact number. Enter this OTP into the portal and confirm the new password.
Karvy NPS Portal
Step 1: Visit the official website of Karvy NPS.
Step 2: Select “Login for existing subscribers”.
Step 3: The site redirects you to a login page. Here, submit your PRAN. Then, enter your password.
Additionally, when logging into your NPS account for the first time, you need to undertake some additional steps, such as:
Step 4: On the above-mentioned login screen, select the option “Click here to generate a new password”. Then, select “Reset your password”.
Step 5: The portal asks you to enter PRAN, date of birth, and a captcha.
Step 6: Click on “Submit” and enter the OTP generated against your registered contact number.
Internet Banking
Step 1: Log in to your internet banking account.
Step 2: Under a tab named “Services”, find the option “NPS” and select it.
Step 3: Browse through your account details and ensure that all information is correct.
Step 4: The internet banking screen appears. Here, you can make contributions, check balance, select schemes, and perform all the necessary actions.
Official Helpline Numbers
For more information regarding NPS account opening, you can reach out to the official helpline numbers, as given below -


