


It’s a New Vehicle
keyboard_arrow_right
Accessibility Options

General

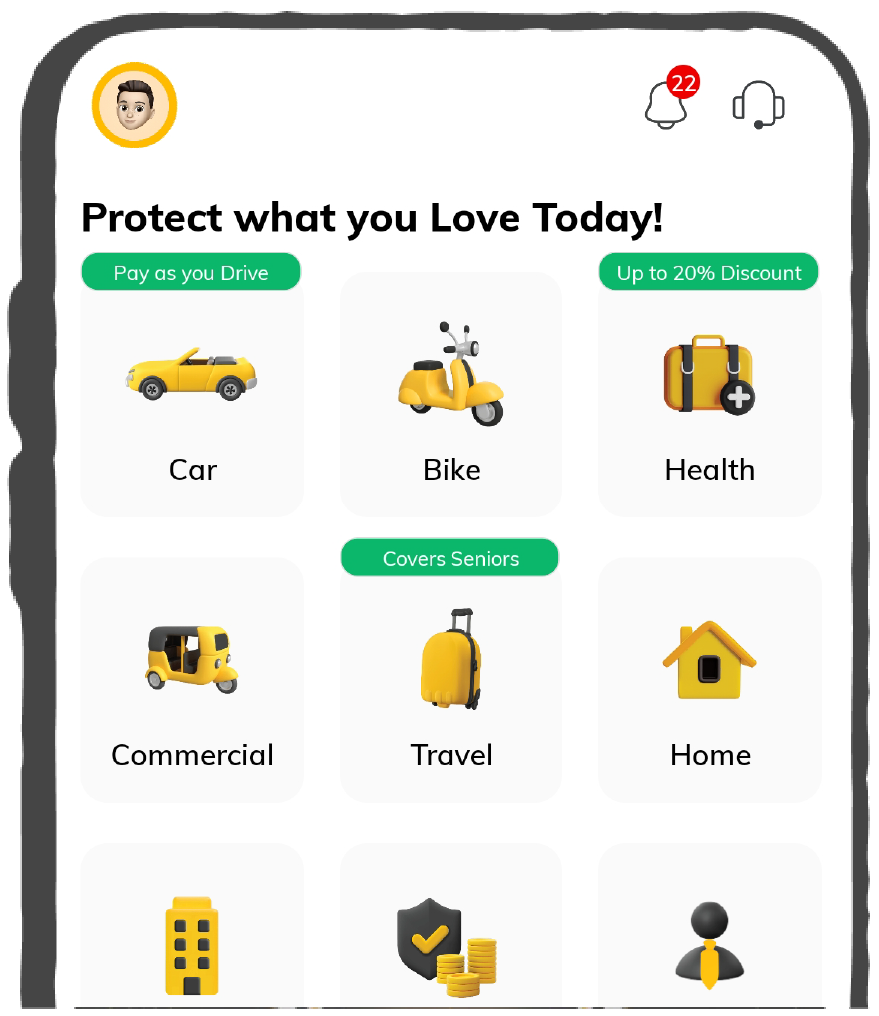
General Products
Simple & Transparent! Policies that match all your insurance needs.

Scan to download

Life

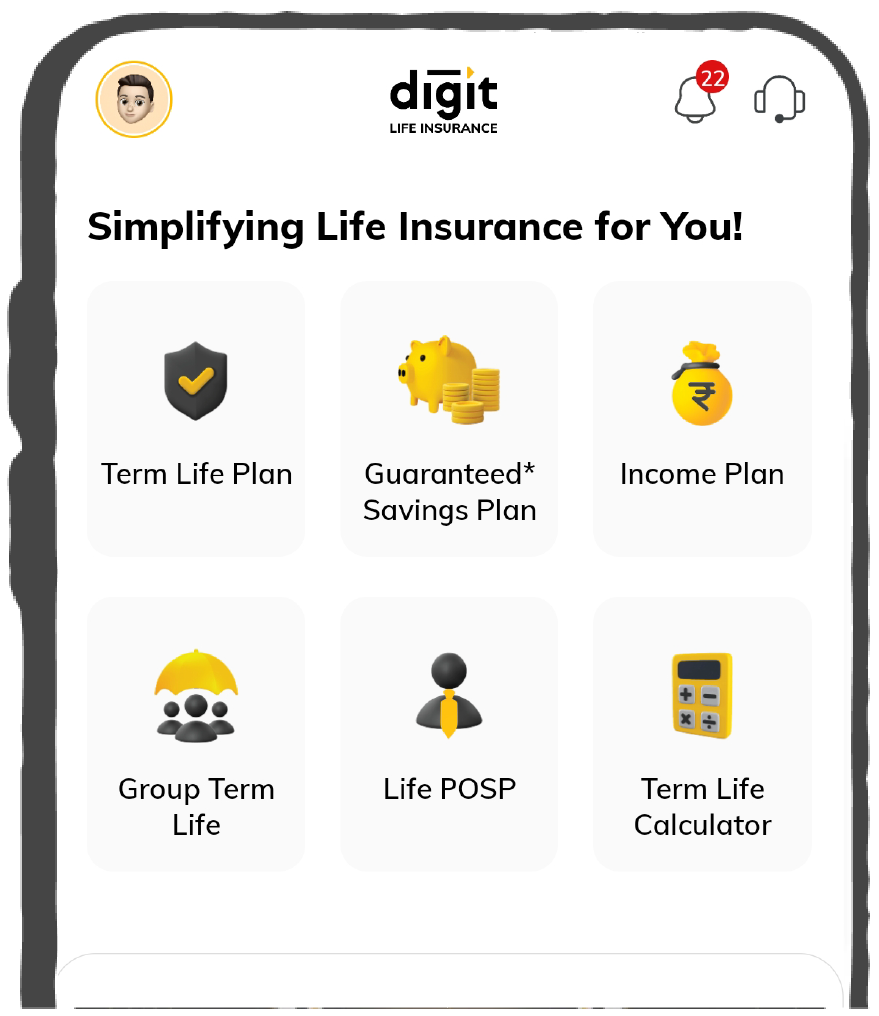
Life Products
Digit Life is here! To help you save & secure your loved ones' future in the most simplified way.
Scan to download

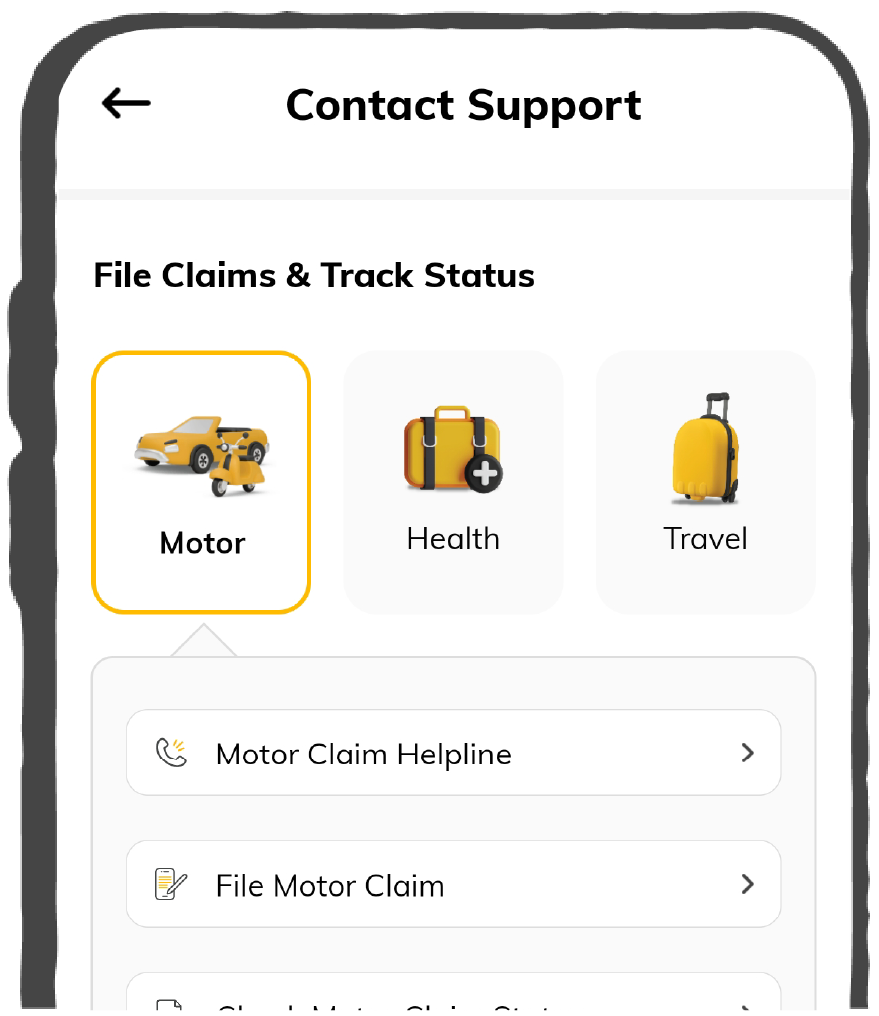
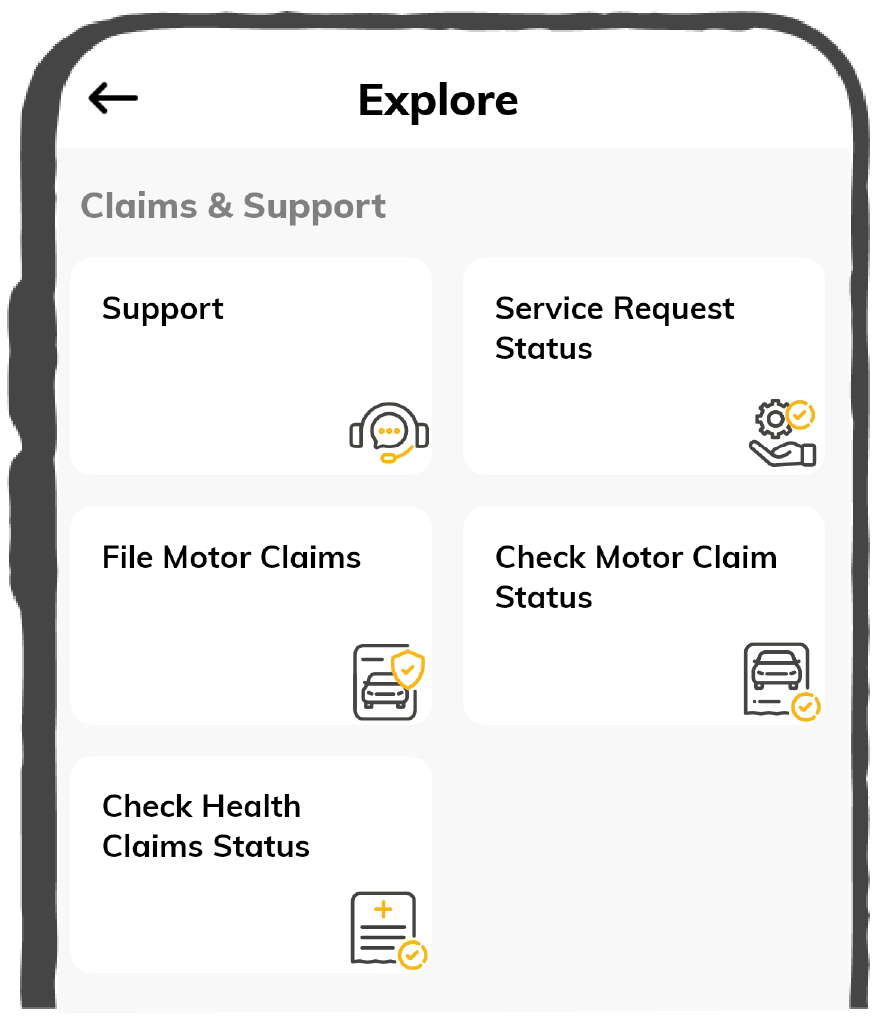
Claims
Claims
We'll be there! Whenever and however you'll need us.
Scan to download
 General
 Life
Life
Renewals
Resources
Resources
All the more reasons to feel the Digit simplicity in your life!
Scan to download
Our WhatsApp number cannot be used for calls. This is a chat only number.


Pay as you Drive
9000+ Hospitals
Covering Seniors
During the second wave of the COVID-19 pandemic, one of the major issues was the oxygen deficiency and lung infections faced by COVID patients. Due to this, more and more patients underwent oxygen therapy – which is the use of medical devices like oxygen cylinders and concentrators to help make breathing easier.
So, let us take a look at oxygen cylinders, what they are used for, how they work, and the risks and dangers associated with them as well.
Oxygen cylinders (or oxygen tanks) are medical devices meant to provide supplemental oxygen to patients. It helps people who are facing respiratory issues or those who have low blood oxygen levels.
An oxygen cylinder, or tank, stores oxygen, which is then dispensed to the patient using an oxygen mask, nasal tubes, or an oxygen rebreather.
The oxygen in the tank is either kept in gaseous form in a pressured gas cylinder, or in liquid form in a cryogenic storage tank. Both store 99.5% pure oxygen.
While liquid oxygen is less bulky to store, it requires special equipment and training to use; hence it is not commonly used as compressed oxygen gas.
An oxygen cylinder is essentially a vessel that stores oxygen. When it is used in medical facilities or at home, they help to deliver supplemental oxygen to patients who cannot get the needed amount of oxygen on their own (these levels can be checked using a pulse oximeter).
At the top of the cylinder, a flow regulator converts the pressurized oxygen in the tank into a specific flow that can be measured, known as litres per minute (LPM). There are two main types of flow regulators: continuous flow and pulse-dose flow.
Oxygen cylinders also come in various sizes based on the volume of gas contained within (and thus how long a person can use the oxygen in the tank before it runs out). The most common ones include:
|
Type of Tank |
Height (in inches) |
Capacity (in litres at 2,200 PSI) |
|
ML-6 (Transported with carrier bag) |
7.6 |
165 litres |
|
B (or M-6) (Transported with carrier bag) |
11.5 |
164 litres |
|
C (or M-9) (Transported with carrier bag) |
11 |
255 litres |
|
D (or M-15) (Transported with carrier bag) |
16.5 |
425 litres |
|
E (or M-24) (Transported with a cart or wheelchair bag) |
25.5 |
680 litres |
|
M-60 (Not portable) |
23 |
1738 litres |
An oxygen cylinder is to be used only when recommended by a registered medical professional. This is usually done when a person requires supplemental oxygen due to having low blood oxygen levels.
Blood oxygen levels can be monitored using a device like a pulse oximeter. It measures SpO2 or oxygen saturation. Normal levels of SPO2 are above 95-92% in a healthy individual. If it falls below this, supplemental oxygen might be recommended.
If the use of an oxygen cylinder is recommended, the doctor will also decide if it needs to be in the hospital or if it can be done at home. They will also determine how frequently or for how long oxygen therapy is needed.
|
|
Oxygen Cylinders |
Oxygen Concentrator |
|
How it works |
Stores a fixed amount of pressurized oxygen, which is gradually used until the tank empties |
Filters oxygen from the surrounding air |
|
How the oxygen is delivered |
Using a nasal tube or a mask |
Using a nasal tube or a mask |
|
Refill or replacement |
Need to be replaced or refilled once the tank is empty |
Do not need to be replaced or refilled |
|
Portability |
Portable versions are available |
They are portable |
Those who are suffering from COVID-19 often develop a number of respiratory and lung problems. According to the WHO, about 14% of patients show severe symptoms that require hospitalization and oxygen support.
Thus, oxygen cylinders have become an important tool in the fight against COVID-19, especially when used with a pulse oximeter to monitor levels of oxygen in the blood. Oxygen cylinders help to provide supplemental oxygen to those who require it.
Unfortunately, they serve as a temporary measure in short-term acute situations like COVID-19. They are used to help ease the burden of breathing for patients so that they have the time to heal. It is also important to remember that oxygen therapy cannot instantly restore a patient's oxygen levels to normal.
An oxygen cylinder is to be used only when recommended by a doctor. While some types of cylinders can be used at home, they are more commonly used in hospitals and other medical facilities. If they are being used at home, there are some steps to be followed:
If using a mask: Place the mask over your mouth and nose, securing the band behind your head or around your ears and making sure there are no gaps around the edges.
If using nasal tubes: Position the nasal tubes upward into your nostrils and loop the tubes over your ears. You can use the tube adjuster to tighten the tubes under your chin.
Step 8: When not in use, turn off the oxygen tank and ensure that you store the cylinder in a horizontal position in its carrier and firmly secured so that it does not roll around.
Never use an oxygen cylinder without guidance from a medical professional, as getting too much (or too little) oxygen may do more harm than good. Some of the risks include:
Since there are a number of oxygen cylinders of various types and sizes available in the market, there are some things you need to keep in mind before getting the device:

Please try one more time!
Check Pending Challan only on Digit App
close
Rated App
Rated App
Scan to Download
![]()


IRDA Licensed General Insurance Company in India - Reg Number 158


